Want to know the best way to make Nurungji using a pressure cooker? Learn the secrets of perfect crispy rice, how to remove it, and a delicious Baeksuk recipe you can make with it. Ready to cook like a pro?
Pressure Cooker Nurungji Time: Perfecting the Crispy Rice
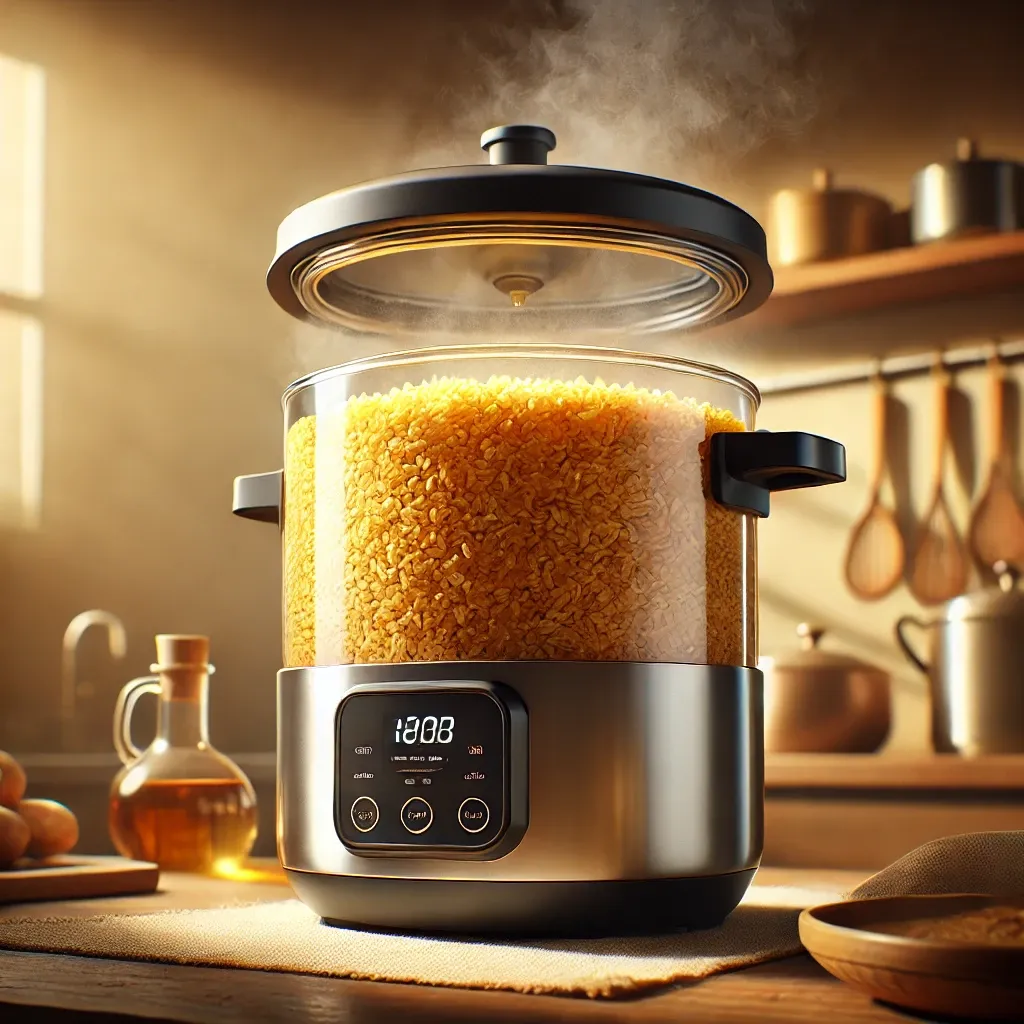
When it comes to Korean cuisine, nurungji, the crispy layer of rice that forms at the bottom of the pot, holds a special place. Traditionally, it’s made by simmering rice in a clay pot, but did you know that you can achieve the same crispy, golden layer with a pressure cooker? It’s a much faster method, and with a few simple tweaks, you can create perfect pressure cooker Nurungji every time.
So, what makes pressure cooker Nurungji stand out? The pressure cooker’s high heat and sealed environment make it perfect for achieving the crispy texture you love. Unlike cooking in a regular pot, the pressure cooker uses steam to evenly cook the rice, ensuring that the bottom layer crisps up without burning.
Here’s how you can make the perfect pressure cooker Nurungji
-
Wash the Rice Start by thoroughly washing your rice. This removes excess starch and helps create a better texture for your crispy rice layer.
-
Add Water For every cup of rice, add about 1.5 cups of water. This ratio may vary depending on your pressure cooker model, so it’s best to consult the manufacturer’s guidelines.
-
Pressure Cook Place the lid on the pressure cooker, lock it in place, and set it to cook on high pressure for about 5 to 7 minutes.
-
Release the Pressure Once the cooking time is up, release the pressure carefully. Let it sit for an additional 5 minutes for the rice to settle and the crispy layer to form.
The result? A perfectly crispy nurungji that you can enjoy as a snack, or use as a base for soups or stews.
Want to learn more tips on cooking with a pressure cooker?
Remove the Pressure Cooker Nurungji: Tips for Perfectly Crispy Rice
Removing the nurungji from your pressure cooker without ruining its crispy texture requires a delicate touch. While it may seem simple, there are a few key steps you should follow to ensure that your crispy rice comes out perfectly every time.
How to remove Nurungji from a pressure cooker
-
Let the Pot Rest After cooking, allow the rice to sit with the lid off for 5-10 minutes. This lets the crispy layer loosen slightly from the pot.
-
Use a Wooden Spoon A wooden spoon is ideal for removing the nurungji as it helps avoid scratching the non-stick surface of the pressure cooker.
-
Lift, Don’t Scrape Gently lift the crispy rice from the bottom of the cooker using the wooden spoon. Avoid scraping it directly to preserve the crispy texture.
-
Let it Cool Allow the nurungji to cool for a few minutes before serving. This helps solidify its shape, making it easier to enjoy or store for later.
Removing the nurungji from your pressure cooker can be a delicate process, but it’s worth it. The crispy, golden rice can be enjoyed as a snack on its own, or you can incorporate it into various dishes.
To make sure you get the most out of your rice, consider pairing the crispy rice with a light, flavorful baeksuk (Korean chicken soup) for a truly comforting meal.
Discover how to enhance your dishes with pressure cooker recipes
Making a Pressure Cooker Nurungji Baeksuk: A Delicious Fusion
Baeksuk, or Korean chicken soup, is a beloved dish often enjoyed for its soothing and nutritious qualities. But did you know that you can take this comforting soup to the next level by adding pressure cooker nurungji to it?
By combining nurungji with baeksuk, you’re not only adding a satisfying crunch to the dish, but you’re also infusing the soup with rich, crispy rice flavor. Here’s how to make a pressure cooker Nurungji Baeksuk
-
Prepare the Chicken Start by seasoning a whole chicken with garlic, ginger, salt, and a few other spices. Place it in the pressure cooker with enough water to cover the chicken.
-
Cook the Chicken Pressure cook the chicken on high for about 25-30 minutes. The result will be tender, juicy chicken and a flavorful broth.
-
Add the Rice and Pressure Cook Again Once the chicken is cooked, add washed rice and a pinch of salt to the pot. Seal the pressure cooker and cook for another 5-7 minutes.
-
Layer the Nurungji After cooking, remove the chicken, and let the rice settle. The bottom layer will have crisped up into a delicious nurungji.
-
Serve Serve the baeksuk with the crispy nurungji either on top as a garnish or on the side. The combination of the tender chicken, warm broth, and crispy rice creates a dish that’s both hearty and satisfying.
Enjoying pressure cooker Nurungji Baeksuk is a perfect way to enjoy the comforting flavors of Korean cuisine while making use of the pressure cooker’s efficiency. It’s an excellent example of how versatile the pressure cooker can be for creating both crispy rice and comforting stews.
Check out more on pressure cooker recipes!
Conclusion
In conclusion, pressure cooker Nurungji is a game-changer in the kitchen. It allows you to enjoy the crispy, golden rice that’s typically made in traditional pots, but in a fraction of the time. Whether you’re enjoying the nurungji on its own, adding it to a comforting baeksuk, or simply learning how to remove it from the pressure cooker without losing that perfect crunch, you’re sure to find this cooking method to be both practical and rewarding.
So why not try making your own pressure cooker Nurungji? With just a little practice, you’ll master the art of creating crispy rice in no time, making it an essential part of your kitchen repertoire.