Ever wondered how to create a magical Photoshop pixel oil fairy tale? Explore techniques like quality settings, brushes, and layer management for achieving that perfect dreamy look. Want to enhance your art skills? Keep reading!
Photoshop Pixel Oil Fairy Tale Quality
When it comes to creating a Photoshop pixel oil fairy tale, quality plays a pivotal role in how realistic and magical the scene feels. Whether you are working with an enchanted forest or a glowing mythical creature, the quality of your brush strokes, layers, and textures can dramatically influence the final image.
Key Factors in Achieving High Quality:
-
Resolution: The higher the resolution of your canvas, the better the fine details will appear in your pixel art. A higher DPI (dots per inch) allows for cleaner lines and more vibrant color gradations.
-
Brush Settings: Choosing the right brush is essential. Photoshop offers a variety of oil paint brushes that simulate the appearance of real oils. Adjusting settings such as flow, opacity, and size gives you control over the painting process.
-
Blending Modes: These are important when working with pixel art elements. They help integrate the layers in a natural, cohesive manner without disrupting the pixel details.
-
Lighting and Shadow Effects: Realistic lighting adds depth to your fantasy scene. Manipulate the lighting sources to create a dreamy or magical atmosphere.
-
Layering Techniques: Layers in Photoshop allow for non-destructive editing. Using multiple layers to add elements like backgrounds, characters, and effects lets you adjust each part individually without compromising the overall composition.
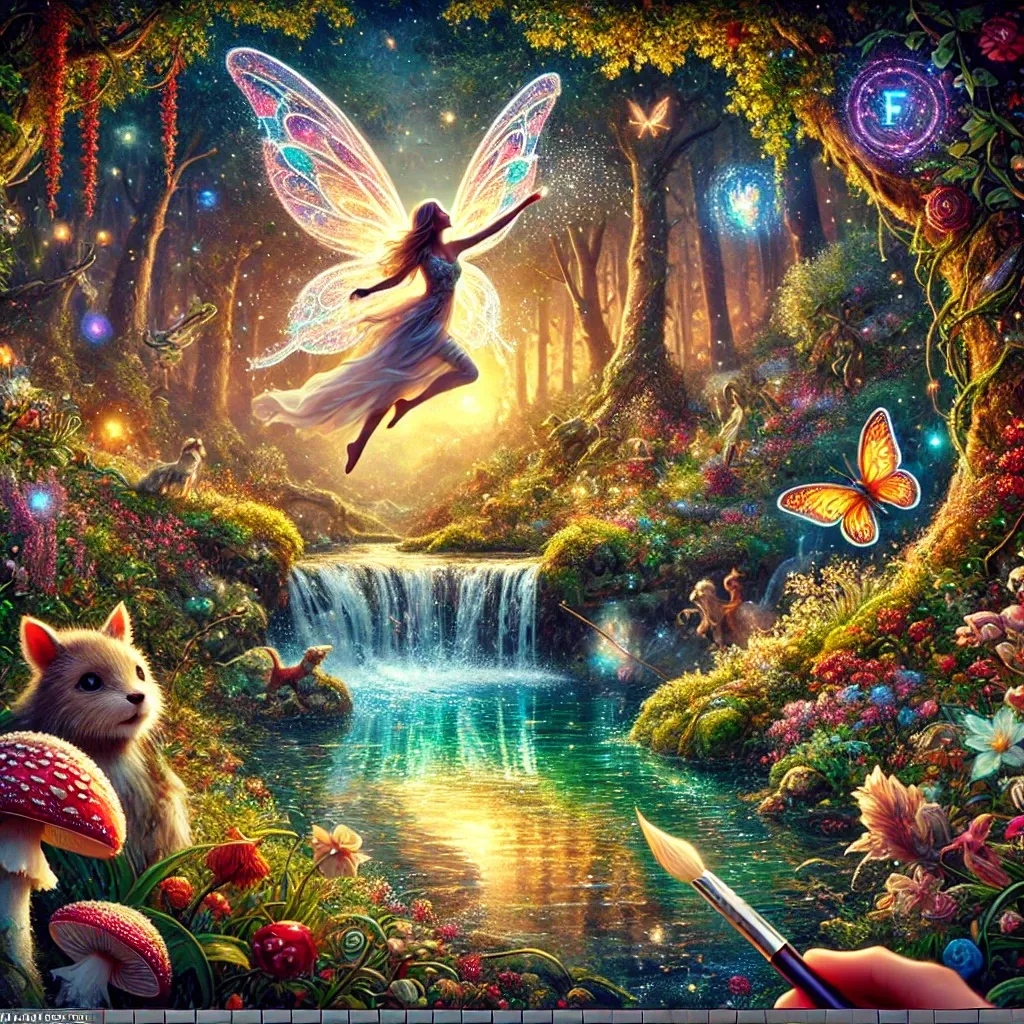
For instance, in creating a scene with a flying fairy, applying soft, glowing lights on different layers beneath her wings can give a subtle yet powerful visual impression.
Photoshop Pixel Fairy Tale Brush
The Photoshop Pixel Fairy Tale Brush is one of the most powerful tools for creating textured, oil-painting-inspired fairy tale scenes. These brushes can simulate the strokes and blending effects of traditional oil painting, making them indispensable when creating magical imagery.
Key Features of the Pixel Fairy Tale Brush:
-
Customizable Brush Settings: You can create or adjust pixel brushes to match the texture and flow of your creative needs. Tweak the scatter, spacing, and hardness for varied strokes.
-
Oil Brush Strokes: The brush mimics the feel of real oil painting, with visible strokes that contribute to the magical, slightly abstract nature of a fairy tale scene.
-
Soft Edges: A soft-edged brush allows for smoother transitions in your painting, making it ideal for the ethereal look found in many fantasy art pieces.
-
Pixel Detail: The brush’s pixel elements can be manipulated to create a grainy, textural feel that enhances the fantasy aesthetic of the scene.
-
Special Effects Brushes: Some brushes come with pre-set effects such as glowing edges, sparkles, or dreamy cloud textures, adding further magic to the scene.
For example, using a custom fairy tale brush with gentle, glowing edges to paint a creature’s wings can evoke a sense of movement and lightness, as though they are shimmering in the magical air.
Photoshop Pixel Oil Fairy Tale Layer
Working with layers is essential when designing your Photoshop pixel oil fairy tale. Layers offer flexibility in handling different elements of the image, such as background, foreground, and special effects, separately from each other.
Important Tips for Using Layers:
-
Background Layer: Start by creating a solid background. Use the oil painting brush with lower opacity to establish a soft, blended backdrop. Layers allow you to adjust the depth of colors, adding more complexity to the scene.
-
Character Layering: Separate your characters (like fairies or magical creatures) into different layers. This lets you focus on their finer details—textures, hair, or clothing—without affecting the background.
-
Special Effect Layers: Create separate layers for magical effects such as sparkles, glowing lights, or clouds. You can adjust their opacity or blending modes to add depth and life to the image.
-
Adjustment Layers: Photoshop allows you to apply adjustments (like brightness, contrast, hue, and saturation) to specific layers without altering the rest of the image. This is perfect for tweaking lighting or color grading.
-
Non-Destructive Editing: Using layers ensures you don’t have to permanently change your artwork. You can always revert to an earlier version or refine specific areas.
Take for example a mystical forest scene—by having multiple layers for trees, magical creatures, and glowing lights, you can easily tweak each element without disturbing the others, allowing for a more dynamic and flexible workflow.
Conclusion
Mastering Photoshop Pixel Oil Fairy Tale techniques can transform your artwork into a stunning, enchanted world. Whether you are creating a fairy flying over a glowing pond, painting a mythical creature, or blending the layers to make the scene come to life, Photoshop offers endless possibilities. Experimenting with brushes, layer management, and pixel art elements gives you the creative freedom to craft a truly magical masterpiece.
Remember, quality in pixel art comes from a combination of proper resolution, smart use of brushes, and seamless layer blending. So, next time you sit down to create, think about the layers of magic you can add to your artwork—and bring your fairy tale to life in ways you’ve never imagined before.