Want to work with GIFs in Photoshop? Learn how to open, edit, and optimize GIF files using Photoshop’s powerful tools. Are you ready to unlock your creativity with GIFs?
Adobe Photoshop is one of the most versatile tools for working with images, and it can also be incredibly useful when working with GIFs. Whether you’re creating animated GIFs from scratch, editing existing ones, or optimizing GIFs for web use, Photoshop provides an array of tools to help you get the job done with precision and ease. In this article, we’ll walk you through the process of opening, editing, and optimizing GIFs in Photoshop. By the end of this guide, you’ll be equipped to handle all aspects of GIF creation and manipulation in Photoshop.
Photoshop GIF Several: Working with Multiple GIF Files
When working with GIFs in Photoshop, it’s common to handle multiple GIF files or frames at once. This is especially useful when you want to edit or optimize several GIFs simultaneously.
Opening Multiple GIF Files
To begin, you can open multiple GIFs in Photoshop by selecting “File” > “Open” and then holding down the Ctrl (Cmd) key to select several GIF files from your folder. Once open, Photoshop treats each GIF as a separate document in tabs, allowing you to toggle between them with ease.
Managing Multiple Layers and Frames
Each GIF will have its individual set of layers, corresponding to its frames. For instance, if you open a GIF with 10 frames, you’ll see 10 layers in the Layers panel. Photoshop uses this multi-layered structure to allow users to animate and manipulate each frame of the GIF independently. You can also combine multiple GIFs into one project by dragging the frames from one GIF into another file’s timeline.
Editing Multiple GIFs Simultaneously
To make changes across several GIFs, you can employ batch processing. By using actions and scripts, Photoshop allows you to perform the same series of edits (like resizing, color correction, or applying filters) across a selection of GIFs. This is particularly beneficial if you are working with multiple GIFs that need the same set of adjustments.
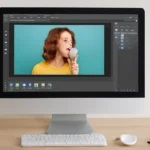
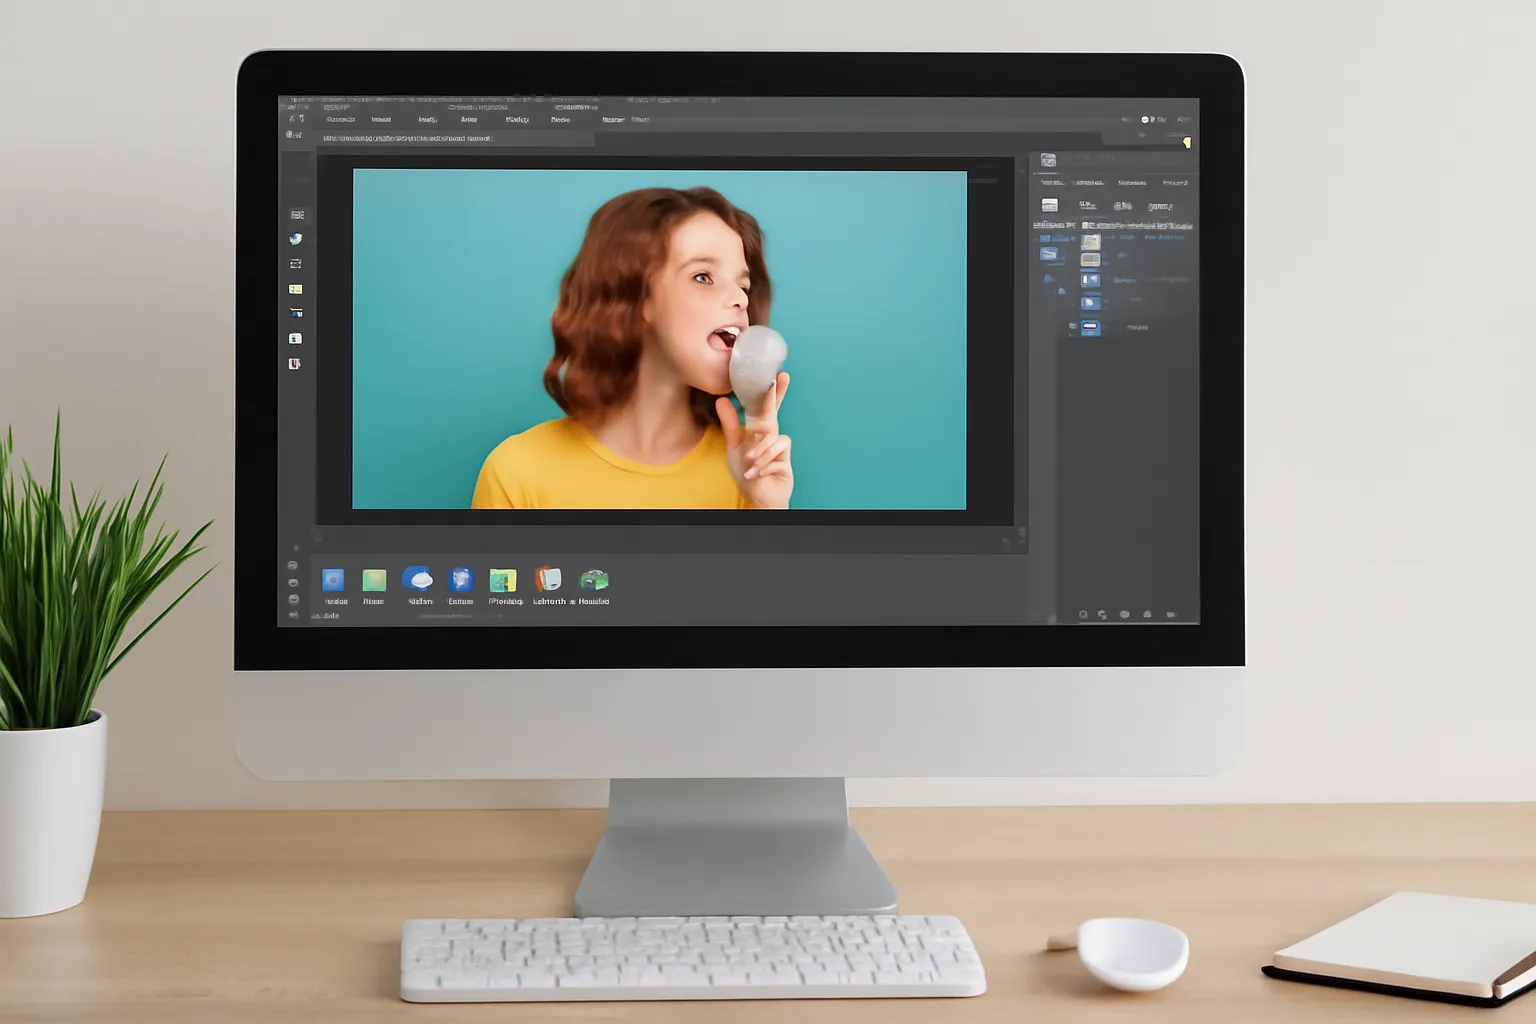
Photoshop GIF Open: The Basics of Opening a GIF in Photoshop
When working with GIFs in Photoshop, the first step is knowing how to open them correctly. GIF files are not like typical image formats, as they have the unique ability to contain multiple frames for animation.
Step-by-Step Process for Opening a GIF in Photoshop
To open a GIF in Photoshop, start by selecting “File” from the top menu, then choose “Open.” In the file dialog box, navigate to the location of your GIF file and select it. Once opened, Photoshop automatically converts the GIF into a series of layers in the Layers panel, each corresponding to an individual frame of the animation.
Understanding the Timeline
Once the GIF is opened, you’ll need to access the Timeline window (Window > Timeline) to see how the frames are arranged. The Timeline allows you to preview your GIF and make adjustments to the timing of each frame. Here, you can control how long each frame stays visible and tweak the overall speed of the animation.
Troubleshooting GIF Opening Issues
Sometimes, GIFs don’t open in Photoshop as expected. This can happen if the file is corrupted or if the GIF is not fully compatible with Photoshop’s version. If you encounter such problems, make sure your Photoshop is up-to-date and check the GIF’s integrity by opening it in a web browser to ensure it’s working correctly.
Put Photoshop GIF: Inserting GIFs into Other Projects
One of the most practical aspects of working with GIFs in Photoshop is their ability to be inserted into other projects, whether they be websites, presentations, or social media content.
Inserting a GIF into a Photoshop Document
If you want to place a GIF inside another Photoshop document, simply open the document and the GIF. Then, select the frames from the GIF and drag them into the open project. Alternatively, you can use the “Place Embedded” or “Place Linked” options from the “File” menu to insert the GIF directly into your composition.
Animating GIFs in Other Projects
After placing the GIF in your document, you may want to edit its animation sequence or duration. You can adjust the timing of the GIF by manipulating the frames within the Timeline window. Photoshop allows you to add transitions or even other visual effects to the GIF while keeping the original animation intact.
Saving Your New Project with GIFs
When you’re ready to save your project with an inserted GIF, ensure you save it in a format that preserves the animation, like .GIF or .MP4. For web use, it’s often better to save the GIF with optimization settings to ensure the file size is manageable while maintaining quality.
Photoshop GIF Connection: Linking Frames and Enhancing Animation
Creating seamless connections between GIF frames is crucial to ensure smooth transitions in your animated GIF. Photoshop offers tools to help you optimize the flow of your GIF, making the final product look polished.
Smooth Transitions and Frame Duplication
When creating a GIF, Photoshop allows you to duplicate frames or add new frames to extend the animation. This is useful when you want to create smooth transitions between different actions or scenes in the GIF. You can duplicate frames in the Layers panel by selecting a frame, then pressing the “Ctrl” (Cmd) key while dragging it to create a copy. Photoshop will maintain the timing of the duplicated frames.
Enhancing Connections with Adjustment Layers
To create smoother transitions between GIF frames, you can apply adjustment layers that affect the entire animation. This includes filters, color corrections, and visual effects that will be applied uniformly to all frames. This can give your GIF a professional and cohesive look.
Adding Movement or Additional Effects
GIFs don’t have to be limited to static motion. You can create additional animations within a GIF, like zooming in on an image or adding fading effects. Photoshop’s powerful toolset allows for such adjustments using keyframes in the Timeline and additional animation settings.
Photoshop GIF Settings: Optimizing GIF Files for Web Use
Once your GIF is ready, it’s essential to optimize it for performance, especially when using it for web applications. GIFs can often be large files, which can slow down loading times on websites. Photoshop offers several settings to ensure your GIFs are optimized without sacrificing too much quality.
Adjusting the File Size
When saving a GIF, choose “File” > “Export” > “Save for Web” to open Photoshop’s optimization options. Here, you can adjust the color depth, dither settings, and frame delay to lower the file size. Photoshop also gives you the option to preview the GIF’s appearance at different compression levels to help find the best balance between quality and size.
Managing Colors and Dithering
Reducing the number of colors in your GIF will decrease the file size. Photoshop allows you to adjust the color settings in the “Save for Web” dialog box, where you can select a smaller color palette to reduce the file size while keeping the visual quality intact. Dithering is another technique used to make gradients appear smoother, though it can increase file size. Use dithering wisely to balance smooth transitions and smaller file sizes.
Frame Rate and Duration Control
When optimizing your GIF, you can adjust the frame rate and the duration of each frame in the Timeline. This is helpful if you need the GIF to load faster or if you want to make the animation appear quicker or slower. The “Save for Web” tool also lets you adjust the looping options, which is important when preparing GIFs for websites or social media platforms.
Conclusion
Working with GIFs in Photoshop opens up countless possibilities for creating dynamic and creative animations. From opening and editing multiple GIFs to optimizing them for web use, Photoshop’s tools make it easier to control every aspect of your GIFs. Whether you’re a beginner or an experienced designer, mastering the GIF workflow in Photoshop will enhance your design projects, boost your creativity, and help you deliver eye-catching animations. So, fire up Photoshop, and start creating amazing GIFs today!