Want to get rid of blemishes in Photoshop? Learn effective techniques for Photoshop face blemish removal, tips on using the Healing Brush, and why these tools are your go-to for smooth, clear skin in photos.
Introduction
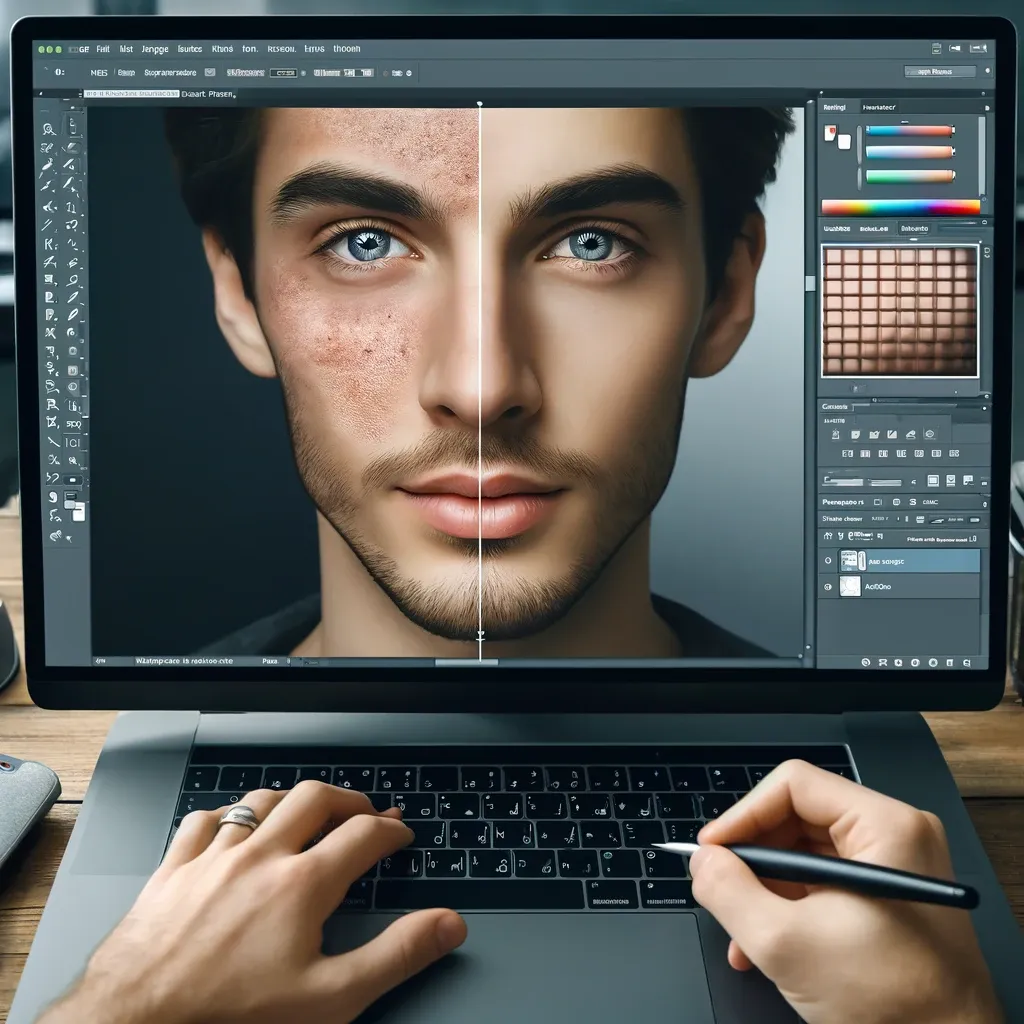
Photoshop is an industry-standard tool for photo editing, and one of the most common requests from users is to remove blemishes from portraits. Whether you’re editing professional photos or personal images, knowing how to effectively use Photoshop to remove blemishes can make a significant difference in the quality of your work. In this article, we will explore the best methods for face blemish removal, tips for using Photoshop tools like the Healing Brush, and how to achieve a natural, flawless look.
Photoshop Face Correction: Blemishes Remove
Blemishes come in many forms: acne, pimples, scars, or dark spots. These imperfections are common, but they can distract from an otherwise beautiful portrait. Thankfully, Photoshop provides powerful tools to help correct these blemishes and ensure a flawless finish.
The Healing Brush Tool
One of the most effective tools for removing blemishes in Photoshop is the Healing Brush Tool. It automatically blends the texture, lighting, and shading of the surrounding skin, making the blemish disappear seamlessly. Here’s how to use it:
-
Select the Healing Brush Tool (shortcut: J).
-
Adjust the brush size to match the size of the blemish.
-
Hold Alt (Option on Mac) and click on a clear area of skin to define the source.
-
Click on the blemish to replace it with the sampled area.
Tip: Always work with a soft brush and lower the hardness to create a smooth blend.
The Spot Healing Brush Tool
The Spot Healing Brush Tool (shortcut: J) is another great option for removing blemishes quickly. Unlike the Healing Brush, it doesn’t require you to sample an area. Photoshop automatically analyzes the surrounding pixels to correct the blemish.
-
Select the Spot Healing Brush Tool from the toolbar.
-
Adjust the brush size to fit the blemish.
-
Click on the blemish to instantly remove it.
This tool is perfect for minor imperfections, such as small pimples or spots.
Clone Stamp Tool
While the Healing Brush is excellent for blending, the Clone Stamp Tool (S) is useful for copying a specific area of the skin to cover a blemish. It gives you more control over the source area, making it ideal for more complex blemish removal.
-
Select the Clone Stamp Tool (S).
-
Alt-click on a clean area of skin to sample it.
-
Click on the blemish to apply the sampled pixels.
Tip: Use the Clone Stamp tool with low opacity for a smoother result.
Remove Photoshop Face Blemishes: Advanced Techniques
Sometimes, blemishes are more stubborn or require extra finesse. If you need a more precise and advanced approach to remove face blemishes in Photoshop, there are a few additional techniques you can explore.
Frequency Separation
Frequency Separation is an advanced technique that allows you to separate the texture from the color in an image. By doing so, you can smooth out skin tones without affecting the skin’s texture, which is essential for maintaining a realistic look.
-
Duplicate your image into two layers: one for the low frequency (color) and one for the high frequency (texture).
-
Use a Gaussian Blur on the low-frequency layer to smooth out the skin tones.
-
Use the Clone Stamp or Healing Brush on the high-frequency layer to repair the texture.
This method gives you the ability to smooth skin while retaining natural pores and skin details, making it a popular choice for retouching portraits in fashion and beauty photography.
Using Layers and Masks
Working with layers and masks allows you to refine your edits without making permanent changes to the original image. This non-destructive method is essential for maintaining flexibility and control.
-
Create a new layer and set it to “Overlay” mode.
-
Use the Brush Tool with a soft brush to paint over areas that need correction.
-
Apply a layer mask to selectively hide or reveal parts of the retouching.
This method gives you total control over the blending process and allows you to tweak the effect if needed.
Dodge and Burn
Dodging and Burning are techniques used to lighten or darken specific areas of an image. While these tools are commonly used for creating depth in a photo, they can also help you eliminate shadows or highlights that may accentuate blemishes.
-
Use the Dodge Tool (O) to lighten dark spots.
-
Use the Burn Tool (O) to darken areas that may highlight flaws.
By subtly lightening or darkening areas around blemishes, you can make the skin appear more even and smooth without completely altering the natural texture.
Photoshop Face Blemish Removal: Achieving Natural Results
When it comes to Photoshop face blemish removal, the goal is always to achieve a natural look. Overdoing it can make the image appear artificial. Here are a few additional tips to ensure your edits look professional and authentic:
Use Subtle Adjustments
When using any retouching tool, it’s important to avoid excessive editing. Subtlety is key to achieving a natural, blemish-free look. Adjust the brush size according to the blemish and always work with a soft touch.
Zoom In and Out
Zooming in while editing allows you to see small imperfections clearly, but remember to zoom out regularly to assess the overall effect. This helps you maintain perspective and ensures the skin looks natural at different sizes.
Work with Layers
Editing on a new layer rather than directly on the photo allows you to make non-destructive edits. It also gives you the flexibility to adjust opacity or blend modes, which can help you achieve more natural-looking results.
Conclusion
Photoshop face blemish removal can seem daunting, but with the right tools and techniques, you can easily enhance the appearance of your photos. Whether you’re using the Healing Brush, the Clone Stamp, or advanced techniques like Frequency Separation, the key is to be subtle and precise. Remember that less is more when it comes to retouching, and always aim for a natural, flawless look. Practice makes perfect, so don’t be afraid to experiment with different methods to find what works best for your needs.