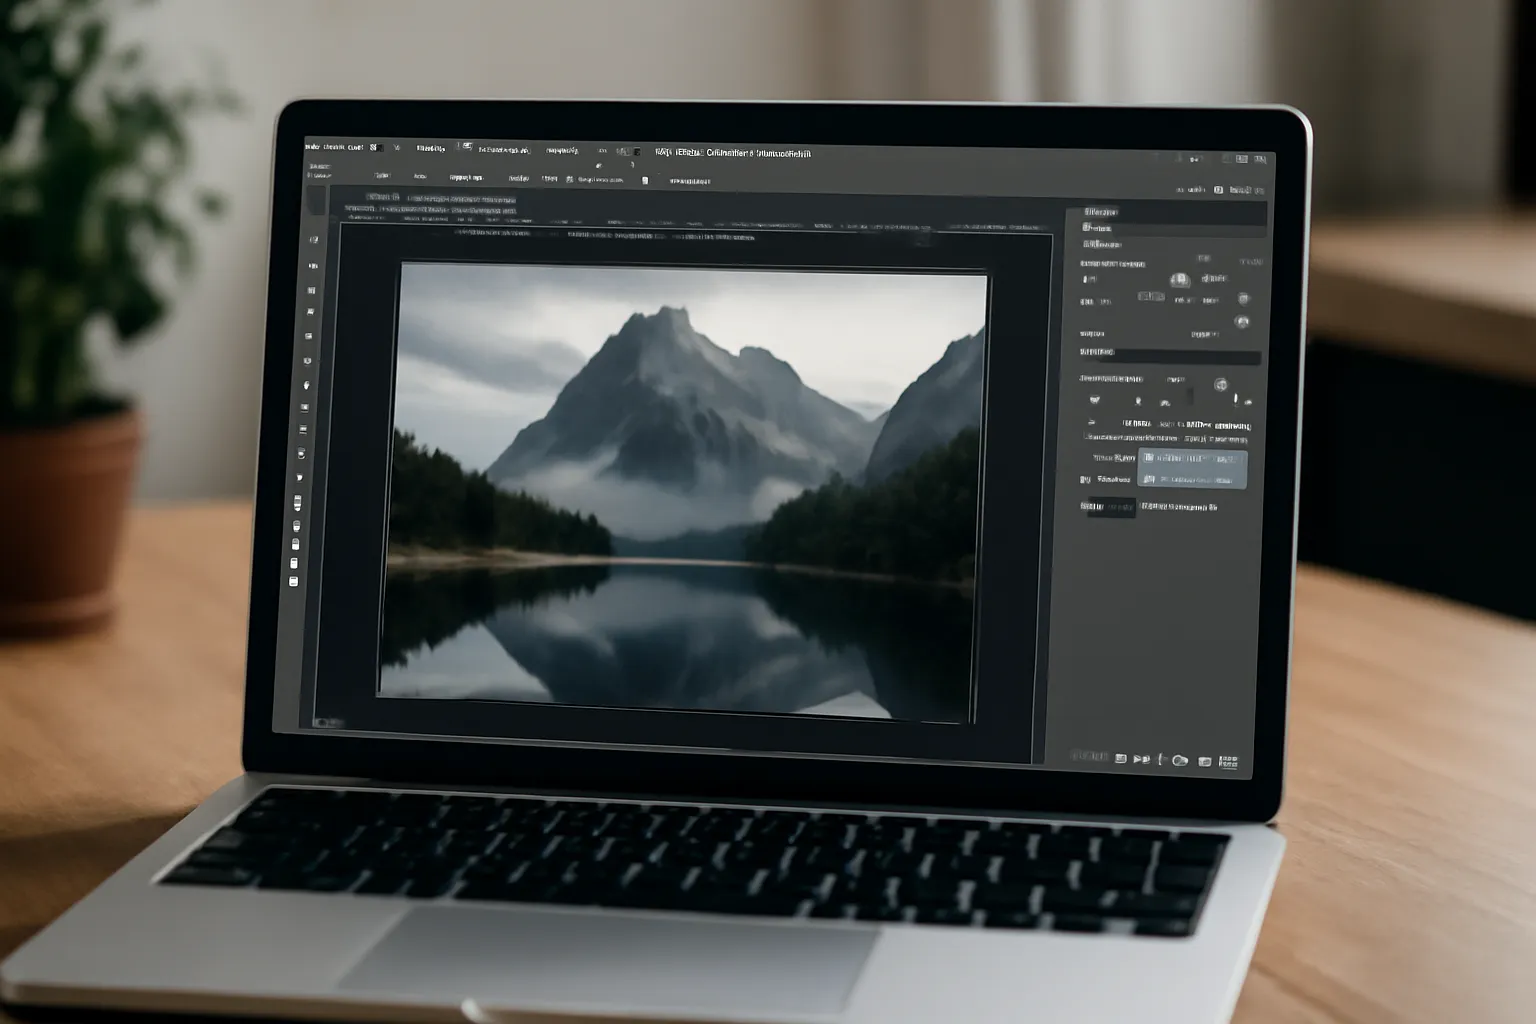
In the world of graphic design, Photoshop remains a dominant tool for creative professionals. One of its key features is the ability to manipulate images through resizing and scaling, making it essential to know the different ways to expand images effectively. Whether you’re trying to enhance an image’s resolution or simply need a quicker method for scaling up elements, mastering Photoshop’s expansion tools and shortcuts can significantly improve your workflow. This guide will explore Photoshop enlarged, Photoshop expansion shortcuts, and Photoshop expansion drag in detail, ensuring you know the most efficient ways to expand your designs.
Photoshop Enlarged: A Deeper Dive into Image Scaling
The ability to enlarge an image in Photoshop is a fundamental skill. Whether you are working with logos, graphics, or photographs, understanding the best way to scale your images without losing clarity is crucial. When you enlarge an image in Photoshop, you’re essentially telling the software to interpolate the pixels, which can result in some degree of quality loss, depending on how much the image is expanded. To prevent this, Smart Objects are a game-changer.
The Role of Smart Objects
Smart Objects allow for non-destructive editing, which means that when you scale up a Smart Object, the original resolution remains intact. This feature ensures that you can resize images multiple times without degrading quality. For best results:
-
Convert the image to a Smart Object by right-clicking on the layer in the Layers panel and selecting “Convert to Smart Object.”
-
Use the “Free Transform” tool (
Ctrl+Ton Windows,Cmd+Ton macOS) to scale up the image. -
Hold the
Shiftkey while dragging the corners to maintain the image’s proportions.
Tips for Enlarging Without Losing Quality
-
Use the “Preserve Details 2.0” resampling option for better results when enlarging.
-
Keep the resolution above 300 DPI for print work to avoid pixelation.
-
Consider reducing noise and sharpening after enlarging to compensate for any blurriness.
This approach ensures that your enlarged image remains crisp and clear, regardless of the scaling amount.
👉 Learn more about enlarging images in Photoshop 👈
Photoshop Expansion Shortcuts: Boosting Your Workflow Efficiency
Photoshop’s expansion shortcuts provide a fast and efficient way to resize elements in your design. Understanding these shortcuts not only saves time but also reduces the number of manual steps involved in enlarging or shrinking objects. Here are some of the essential shortcuts to boost your efficiency:
Key Shortcuts for Expanding and Reducing in Photoshop
-
Ctrl+T (Cmd+T on Mac) This opens the “Free Transform” tool, allowing you to resize an image or object.
-
Shift + Drag Hold the
Shiftkey while dragging the corners to scale an image proportionally. -
Alt (Option key on Mac) + Drag This resizes the object from its center point.
-
Ctrl+Alt+Shift+S (Cmd+Option+Shift+S on Mac) Opens the “Save for Web” dialog, where you can adjust the image size and quality for web usage.
These shortcuts ensure that you can quickly scale up or down without constantly navigating through the menu. For designers working with multiple images or layers, this is particularly beneficial.
Expanding Text and Shapes
If you’re working with text or vector shapes, Photoshop offers specific expansion features. For example:
-
Ctrl+Alt+Shift+T (Cmd+Option+Shift+T on Mac) This shortcut duplicates the current layer and applies the “Free Transform” tool, making it easy to resize elements repeatedly without manually selecting the tool.
👉 Discover more Photoshop shortcuts here 👈
Photoshop Expansion Drag: A Seamless Way to Resize
The “drag” method in Photoshop is another intuitive way to expand or reduce images and objects. By simply clicking and dragging an object, Photoshop automatically resizes it, often with real-time previews, making it an excellent method for hands-on adjustments. However, mastering the drag function involves a few key techniques that can improve your results.
How to Expand Using the Drag Tool
-
Select the Layer Start by selecting the layer you want to resize in the Layers panel.
-
Activate Free Transform Press
Ctrl+T(Cmd+T on Mac) to activate the Free Transform mode. -
Click and Drag Click and drag any corner to enlarge the object. Hold the
Shiftkey to maintain proportions, and use theAltkey to resize from the center. -
Real-Time Preview Photoshop allows for real-time resizing, so you can easily see how the image looks as you drag.
This method is great for users who want quick adjustments without having to use keyboard shortcuts or menu options. It’s also perfect when you’re trying to maintain the visual balance of an image while making sure it fits within your design.
When to Use the Drag Method
The drag method works best when:
-
You need to adjust the size of one element without affecting others.
-
You’re working with elements that require fine-tuning, such as shapes or individual layers.
-
You want to quickly resize an image with minimal precision.
👉 Learn how to perfect your drag method in Photoshop 👈
Conclusion: Mastering Photoshop Expansion Techniques
In conclusion, mastering Photoshop enlarged techniques, understanding Photoshop expansion shortcuts, and using Photoshop expansion drag are all essential skills for anyone looking to enhance their design workflow. Whether you’re enlarging an image for print or making quick adjustments to a layer, knowing how to expand effectively will save time and maintain quality.
By utilizing Smart Objects, expanding with shortcuts, and mastering the drag technique, you can ensure that your designs look professional and polished at any size. Remember that resizing in Photoshop isn’t just about scaling; it’s about maintaining image quality and ensuring that your creative work stands out.
“Design is not just what it looks like and feels like. Design is how it works.” — Steve Jobs