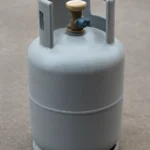
LPG hoses play a critical role in the safe and efficient delivery of liquefied petroleum gas (LPG) to appliances and equipment. Whether you’re using LPG in residential, commercial, or industrial settings, understanding the standards, connections, and maintenance practices for these hoses is essential for safety and reliability. In this article, we will cover the key aspects of LPG hoses, focusing on the standard, connection methods, and replacement procedures.
LPG Hose Standard: Ensuring Safety and Reliability
LPG hoses are designed to meet specific safety standards to prevent leakage, damage, and accidents. These standards are crucial in ensuring that the hose can handle the pressure and conditions associated with LPG.
What Defines an LPG Hose Standard?
The standard for LPG hoses varies depending on the country and the specific application. However, they all share common characteristics designed to prevent accidents. The most widely recognized standards for LPG hoses include:
-
Pressure Rating: LPG hoses must be able to withstand the pressure of the gas flow without rupturing or leaking. Typically, they are rated for pressures of up to 20 bar (290 psi), though some hoses may be rated for higher pressures, depending on the application.
-
Temperature Resistance: LPG hoses must be able to handle both high and low temperatures. The standard hose should function in temperatures ranging from -20°C to 80°C (-4°F to 176°F).
-
Material Composition: The material used in LPG hoses is typically rubber or thermoplastic, designed to resist oil, heat, and UV damage. The hose material should be non-permeable to prevent gas leakage.
-
Regulatory Approvals: In many countries, LPG hoses must be certified by regulatory bodies like the American National Standards Institute (ANSI) in the U.S. or the European Union’s EN 1762 standards.
Common Testing Methods for LPG Hoses
Before being approved for use, LPG hoses undergo several tests to ensure compliance with safety standards. These include:
-
Leak Testing: The hose is pressurized with LPG to ensure there are no leaks. This is crucial for preventing dangerous accidents caused by gas escaping.
-
Burst Testing: This test checks the maximum pressure the hose can withstand before failing, ensuring that it remains intact during extreme conditions.
-
Aging Tests: LPG hoses are subjected to long-term exposure to UV light, heat, and weather conditions to check for degradation over time.
By adhering to these standards, LPG hoses ensure a safe and efficient transfer of gas.
LPG Hose Connection: Methods and Best Practices
The connection of an LPG hose to an appliance or gas cylinder is an essential part of ensuring both safety and functionality. A poor connection can lead to dangerous gas leaks or system malfunctions.
Types of LPG Hose Connections
LPG hoses use various connection methods depending on the type of equipment and the application. Some of the most common connections include:
-
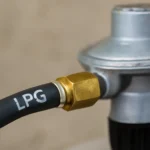
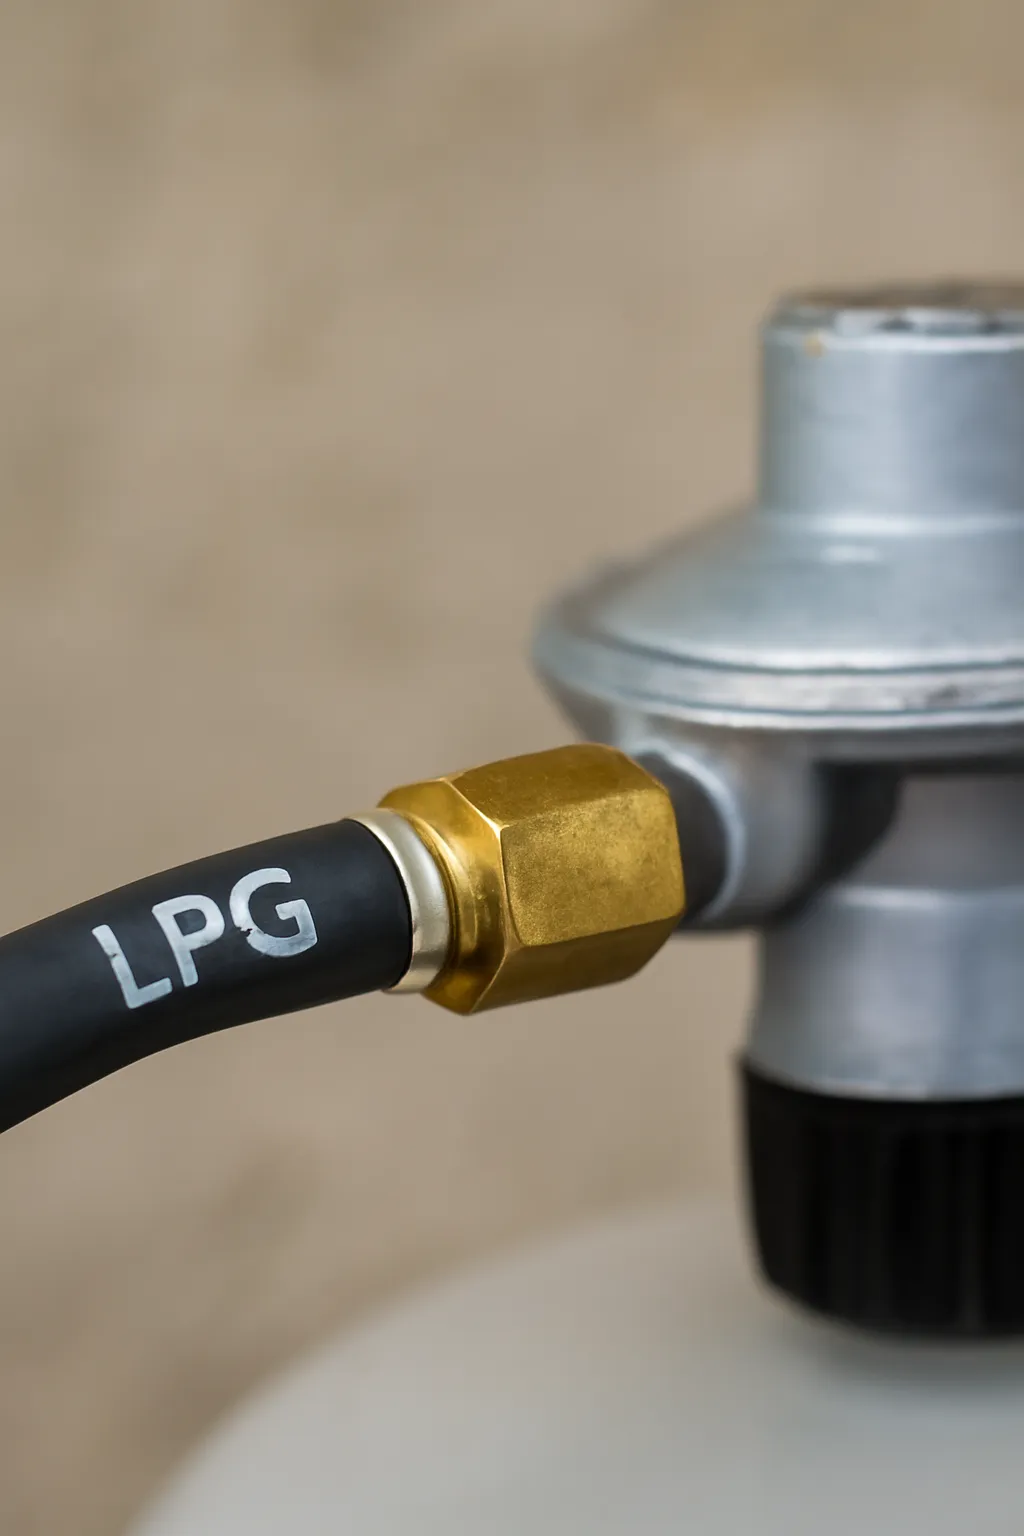
Screw Fittings: This is one of the most common methods, especially for domestic gas cylinders. The hose is connected to a brass fitting that screws into a regulator or appliance. It is vital to use the correct size and thread type to prevent leaks.
-
Quick Connect Fittings: These are often used in industrial or commercial settings where rapid installation and removal of LPG hoses are required. Quick connect fittings are designed to seal automatically when the hose is attached, reducing the risk of gas leakage.
-
Bayonet Fittings: These are commonly used for certain types of gas appliances, such as outdoor grills or heating units. The bayonet fitting locks the hose in place and prevents accidental disconnections.
Proper Installation of LPG Hose Connections
To ensure the safety and efficiency of the LPG hose, proper installation is essential. The following steps should be followed:
-
Check for Compatibility: Ensure that the hose, fittings, and appliances are compatible with each other. Using the wrong type or size of fitting can result in leaks or inefficient gas flow.
-
Use Proper Tools: Ensure that the connections are tightened securely using the correct tools. Do not overtighten, as this can damage the threads or fittings.
-
Test for Leaks: After connecting the hose, check for gas leaks using soapy water or a specialized leak detection solution. If bubbles form around the connection, there is a leak, and the hose should be re-tightened or replaced.
Tips for Ensuring Safe Connections
-
Always use a gas hose rated for LPG use.
-
Ensure that the hose is not twisted or kinked, as this can impede gas flow.
-
Regularly inspect connections for signs of wear, such as cracks or corrosion.
-
Never use a hose that shows signs of damage or deterioration.
By following these best practices, you can ensure that your LPG hose connections are both safe and functional.
LPG Hose Replacement: When and How to Replace Your LPG Hose
Over time, LPG hoses can degrade due to exposure to heat, UV rays, and the gas itself. It’s essential to replace hoses periodically to ensure the safety of your gas system.
Signs That It’s Time to Replace Your LPG Hose
-
Cracks or Cuts: Visible cracks or cuts in the hose are a clear indication that the hose is compromised. Even small cracks can lead to leaks.
-
Brittleness or Hardness: If the hose has become hard, brittle, or inflexible, it is no longer safe to use. This may be caused by age, UV exposure, or chemical degradation.
-
Leaking Gas: If you notice the smell of gas around the hose or detect leaks using a leak detection solution, it’s time to replace the hose.
-
Aging: Even if there are no visible signs of damage, LPG hoses should be replaced every 3 to 5 years, depending on the manufacturer’s recommendation and the conditions of use.
How to Replace an LPG Hose Safely
Replacing an LPG hose is a straightforward process, but safety precautions must be followed. Here are the steps:
-
Turn Off the Gas Supply: Before replacing the hose, ensure that the gas supply is completely shut off. This reduces the risk of leaks during the replacement process.
-
Disconnect the Hose: Use the appropriate tools to disconnect the old hose from the regulator and the appliance or cylinder.
-
Check for Damage: Inspect the regulator and fittings for signs of wear or damage. Replace any components that appear faulty.
-
Install the New Hose: Install the new hose according to the manufacturer’s instructions. Ensure that all connections are secure and properly tightened.
-
Test for Leaks: After installation, check all connections for leaks using soapy water or a leak detection solution. If no bubbles appear, the installation is complete.
By replacing your LPG hose regularly and following safety protocols, you can ensure that your gas system remains safe and functional.
Conclusion
Understanding the standard, connection methods, and replacement procedures for LPG hoses is crucial for the safe and efficient use of LPG. By adhering to established standards, ensuring proper connections, and replacing damaged hoses promptly, you can avoid accidents and maintain a reliable gas system. Always prioritize safety when working with LPG to ensure a secure and efficient gas supply for your appliances.