Curious about how to erase in Photoshop effectively? Want to learn shortcuts, recover erased work, or discover tools for a smoother editing experience? Keep reading for detailed insights on all things Photoshop erasing!
Photoshop is a powerful tool used by millions for photo editing, but one feature that many users struggle with is the eraser tool. Whether you’re clearing a background, recovering an image, or simply fixing mistakes, mastering the erasing functions in Photoshop can significantly improve your workflow. In this article, we’ll explore how to effectively erase in Photoshop, including using the eraser tool, recovery methods, and shortcuts.
Recovery Photoshop
Recovering erased elements in Photoshop can be a lifesaver when you’re working on complex projects. Photoshop offers several recovery options, allowing you to undo mistakes and retrieve important parts of your work.
1. Using the History Panel
The History panel in Photoshop is an invaluable tool for recovering previous steps in your editing process. When you erase something by mistake, you can simply go back in history to undo the action.
How to Use the History Panel:
-
Go to Window > History.
-
The panel will display a list of actions you’ve taken during your current session.
-
Find the point before you made the mistake and click on it to revert to that state.
This method is especially useful if you’ve made multiple adjustments and want to recover a part of your work without affecting other edits.
2. The Undo Shortcut
Another quick method to recover erased parts is the Undo shortcut. Press Ctrl + Z (Windows) or Cmd + Z (Mac) to undo your most recent action. If you’ve erased something and need to reverse it, this is your fastest option.
3. Using the Clone Stamp Tool
If you’ve already closed your file or gone too far back in history, you can use the Clone Stamp Tool to manually recover parts of an image. This tool allows you to sample an area of the image and paint over areas you’ve accidentally erased, seamlessly blending them with the surrounding pixels.
By mastering these recovery methods, you can easily retrieve anything you’ve accidentally erased and continue your project without a hitch.
Find More About Photoshop Recovery Tools
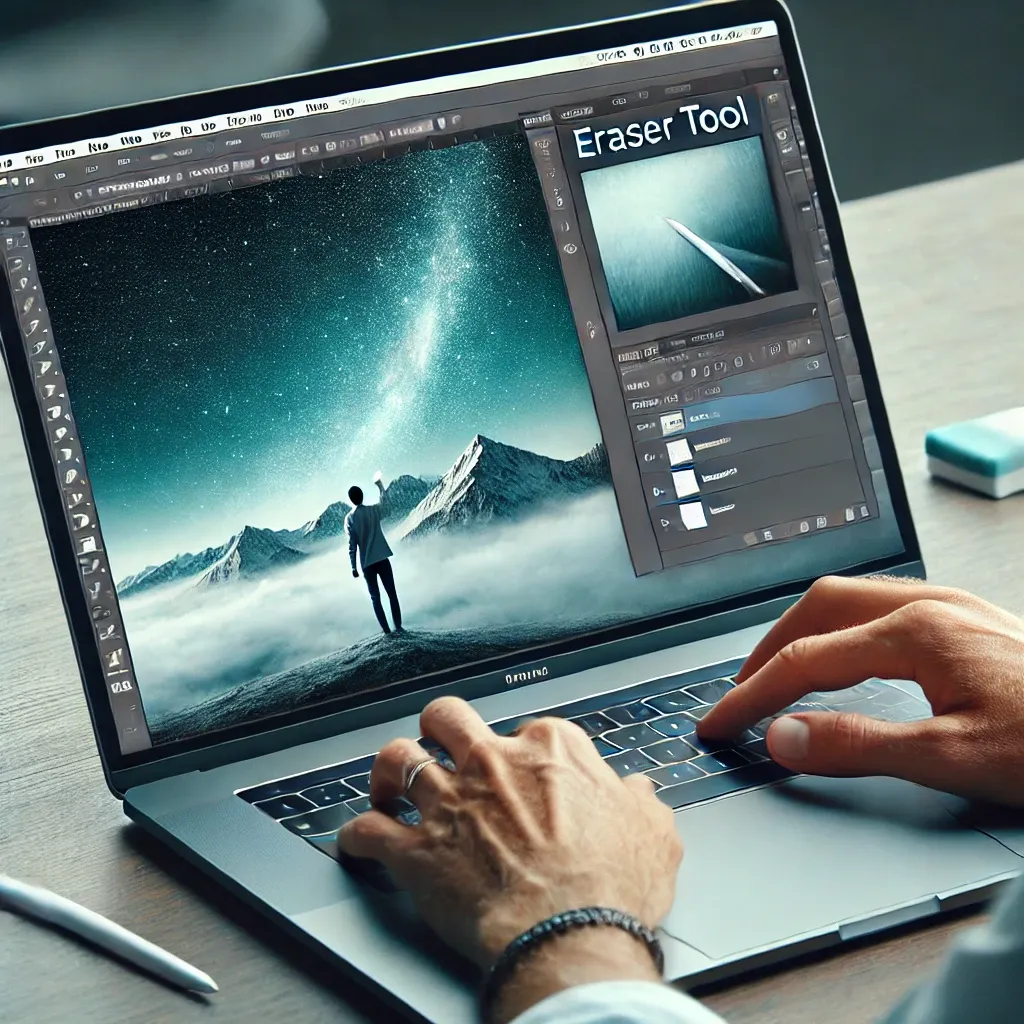
Photoshop Erasing Tool
The Eraser Tool in Photoshop is fundamental for many editing tasks, from clearing backgrounds to removing unwanted parts of an image. Here’s a deeper look at how the eraser tool works and its various settings.
1. Basic Eraser Tool
The basic Eraser Tool works just like any eraser in a traditional program, removing parts of the image as you brush over them. It’s simple and straightforward, ideal for clearing small areas or fine details.
2. Eraser Tool with Options
Photoshop offers multiple settings to control how the eraser tool behaves:
-
Brush Size Change the size of the eraser to fit the area you’re working on.
-
Hardness Adjust the hardness to control how smooth or sharp the eraser’s edges are.
-
Opacity Lowering the opacity of the eraser will allow for a more gradual and soft erasure.
3. Background Eraser Tool
If you’re working with images that have solid-colored backgrounds, the Background Eraser Tool is a specialized tool that helps you easily erase background areas while keeping the subject intact. It automatically detects edges and removes pixels that match the sampled color.
4. Magic Eraser Tool
For those who want an even more automated erasure process, the Magic Eraser Tool works by selecting and removing areas that are similar in color to the point you click. This tool is best for solid or simple backgrounds but can also be used for more complex images with some fine-tuning.
5. Layer Masking
Sometimes, instead of erasing pixels permanently, it’s better to use Layer Masks. This non-destructive approach allows you to hide parts of an image instead of erasing them completely. You can always reveal or modify areas later without losing data.
By experimenting with these eraser settings and tools, you can perfect your technique and achieve precise, professional results.
Learn More About Photoshop Erasing Tools
Shortcut to Erasing Photoshop
Time is crucial in any design project, and using shortcuts in Photoshop can significantly speed up your workflow. Here are some of the most useful shortcuts for erasing in Photoshop.
1. Eraser Tool Shortcut
To quickly switch to the Eraser Tool, press E on your keyboard. This allows you to toggle between the Eraser and other tools without needing to click through the toolbar.
2. Undo Erase with Shortcut
If you accidentally erase something, the Ctrl + Z (Windows) or Cmd + Z (Mac) shortcut is your best friend. This undoes the last action, including erasing.
3. Quick Mask Mode
Another useful shortcut is Q, which activates Quick Mask Mode. In this mode, you can use a brush to select areas for erasing or editing. Once you finish your selection, press Q again to exit Quick Mask Mode and apply your changes.
4. Erase with the Brush Tool
You can also use the Brush Tool with a black color on a layer mask to erase specific parts of your image. This is an essential shortcut for those who want more flexibility when erasing.
5. Toggle Layer Visibility
Another useful shortcut is Shift + Click on the eye icon next to a layer in the Layers panel. This hides or shows the layer, allowing you to see the changes after erasing without completely removing elements.
Mastering these shortcuts will allow you to work faster and more efficiently, which is essential when you’re in a time crunch.
Discover More Photoshop Shortcuts
Conclusion
Whether you’re recovering lost work, using Photoshop’s erasing tools, or mastering shortcuts, understanding how to effectively erase in Photoshop can drastically improve your editing process. By practicing the various techniques and tools, you’ll be able to handle any erasure task with ease, from simple corrections to complex background removals. Keep experimenting and refining your skills to ensure that Photoshop becomes a true extension of your creative process.
As the famous designer Paul Rand once said, “Design is the silent ambassador of your brand.” Perfecting your Photoshop skills ensures that your designs always communicate your message clearly and effectively. Happy editing!