Ever wondered how to convert JPG images in Photoshop with ease? Learn the best methods for saving, converting, and even using AI-powered tools to handle JPG files in Photoshop.
When working with images, Photoshop offers robust tools for manipulating and saving various formats. Among the most common formats you’ll encounter is JPG, and knowing how to efficiently convert and save JPG files is essential. In this article, we’ll explore everything from simple JPG to PNG conversions to more advanced techniques, including saving your JPG files properly and using AI-driven methods for modern editing.
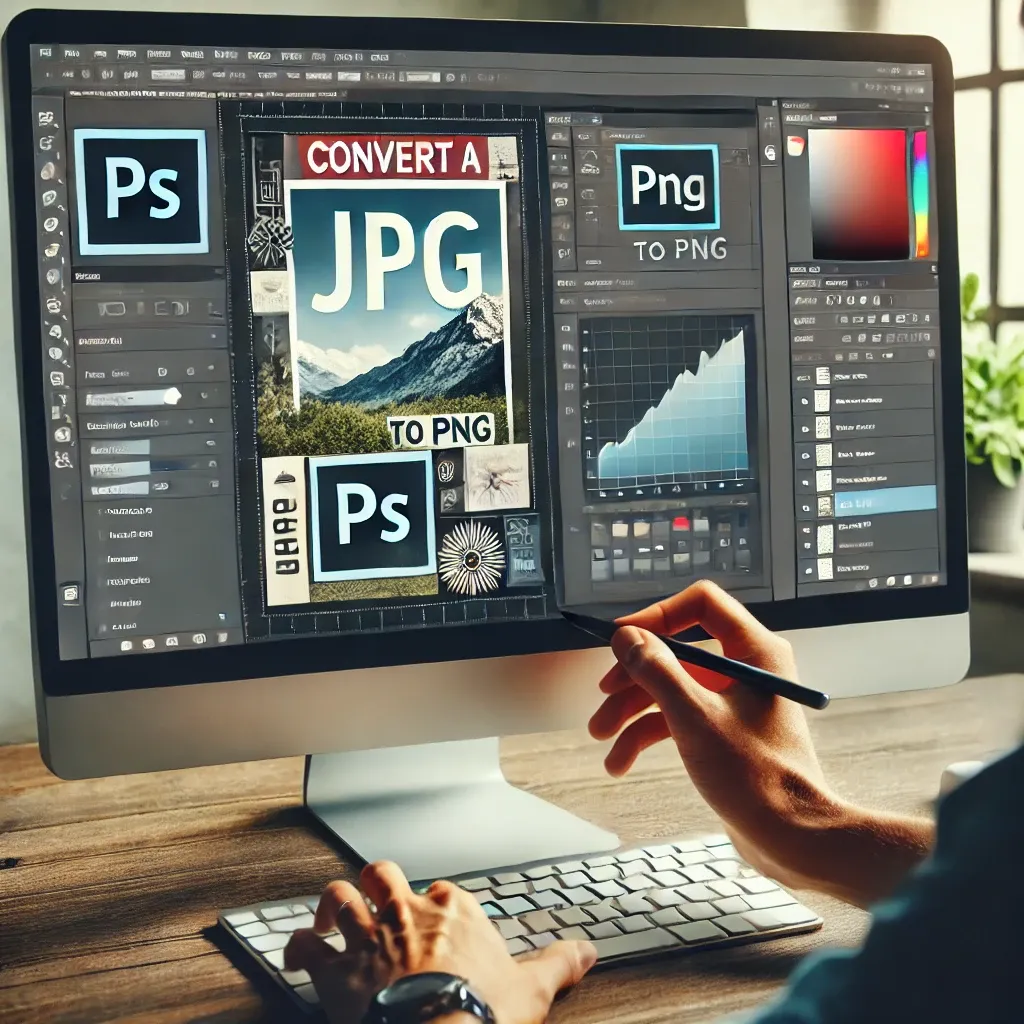
Photoshop JPG PNG Conversion
Photoshop allows you to convert JPG images to other formats, including PNG, which is perfect for high-quality images that need transparency. Converting JPG to PNG can be especially useful for graphic design projects, web design, and digital art where a transparent background is required. Here are the steps to achieve this:
-
Open Your JPG in Photoshop:
-
Launch Photoshop and open the JPG file you want to convert.
-
-
Navigate to “File” and “Save As”:
-
Click “File” in the top menu and select “Save As.”
-
-
Choose PNG as the Format:
-
In the “Save As” dialogue box, choose “PNG” from the dropdown list of file types.
-
-
Select Transparency Options:
-
If your image has transparent areas, make sure to check the box for transparency under the PNG options.
-
-
Save the Image:
-
Click “OK” to save your newly converted PNG file.
-
This simple process can help ensure your images maintain quality and transparency when working on projects like logos or illustrations. By converting JPG to PNG in Photoshop, you also ensure that your images are of the highest quality.
Practical Example:
Imagine you’re working on a web design project and you have a logo in JPG format. However, for web use, you need the logo with a transparent background to overlay text or graphics. By converting your JPG file to PNG, you can ensure a seamless integration of the logo into any webpage without a solid background.
Photoshop JPG Save
Once your image is ready in Photoshop, saving it in JPG format is often necessary due to its wide compatibility with most digital platforms. Whether you’re preparing an image for a website, email, or social media, here’s how to save your work in the JPG format:
-
Complete Your Image Editing:
-
Ensure all adjustments and edits are finalized before saving.
-
-
Go to “File” and Select “Save As”:
-
Choose “File” in the top menu, then “Save As” to open the save options.
-
-
Choose JPG Format:
-
Select JPG from the list of file formats in the “Save As” window.
-
-
Adjust Quality Settings:
-
A quality slider will appear; adjust the quality level based on your needs (higher quality means less compression but a larger file size).
-
-
Click Save:
-
Once you’re satisfied with the settings, click “Save.”
-
It’s important to understand the difference between “Save As” and “Save for Web” when working with JPG files in Photoshop. The former is perfect for general uses, while “Save for Web” allows for more precise control over compression and image quality.
Practical Example:
If you’re saving images for a blog or online store, optimizing your JPG images will help with faster loading times without compromising too much on quality. For instance, you may choose a medium-quality setting to balance file size and clarity for an optimal user experience.
Photoshop JPG AI Conversion
The integration of AI tools in Photoshop opens up new possibilities for advanced image conversion, making the editing process more intuitive and efficient. Adobe has incorporated AI-powered features like Adobe Sensei, which can help automate various tasks, including the conversion of JPG files into other formats while optimizing quality.
-
Open Your Image in Photoshop:
-
Start by opening your JPG image.
-
-
Use the AI-powered Tools:
-
Photoshop’s AI tools, such as auto-enhance and smart cropping, can assist in improving the image quality before conversion.
-
-
Select “Convert to” Option:
-
AI can automatically detect the most appropriate format (e.g., PNG, TIFF) based on the image content.
-
-
Adjust AI Settings:
-
Fine-tune the AI settings for clarity, sharpness, or resolution as needed.
-
-
Save or Export the Image:
-
Use the “Save As” or “Export” options to finalize the conversion.
-
AI tools within Photoshop can intelligently convert and even improve your JPG images during the process. This is particularly useful for images with fine details or complex backgrounds.
Practical Example:
If you’re working on an image that has low resolution or a complicated background, AI tools in Photoshop can enhance the image quality before converting it into the desired format. This method is ideal for professional photographers or digital artists looking for enhanced results with minimal manual effort.
Conclusion
Understanding how to work with JPG files in Photoshop is an essential skill for anyone involved in image editing, whether you’re a beginner or an experienced user. From converting JPG to PNG for transparency, saving JPG files with optimal quality settings, to leveraging AI tools for intelligent conversion, Photoshop provides a wide array of methods to suit your needs.
In the digital world, where image quality and compatibility are crucial, mastering Photoshop’s JPG conversion and saving features will make your workflow smoother and more efficient. With the power of Photoshop and AI, you can take your image editing skills to the next level.
Remember, whether you’re working on professional design projects or simple photo edits, having the right tools and understanding the conversion process is key. Happy editing!