Oyster rice is a rich, flavorful dish that combines the briny, tender oysters with aromatic rice. When prepared using a pressure cooker, it saves time and enhances the flavor by allowing the ingredients to meld beautifully together. Whether you’re preparing it for a cozy meal or a special gathering, this dish is sure to impress. Let’s explore how to make this pressure cooker oyster rice!
1. Oyster Rice Pressure Cooker
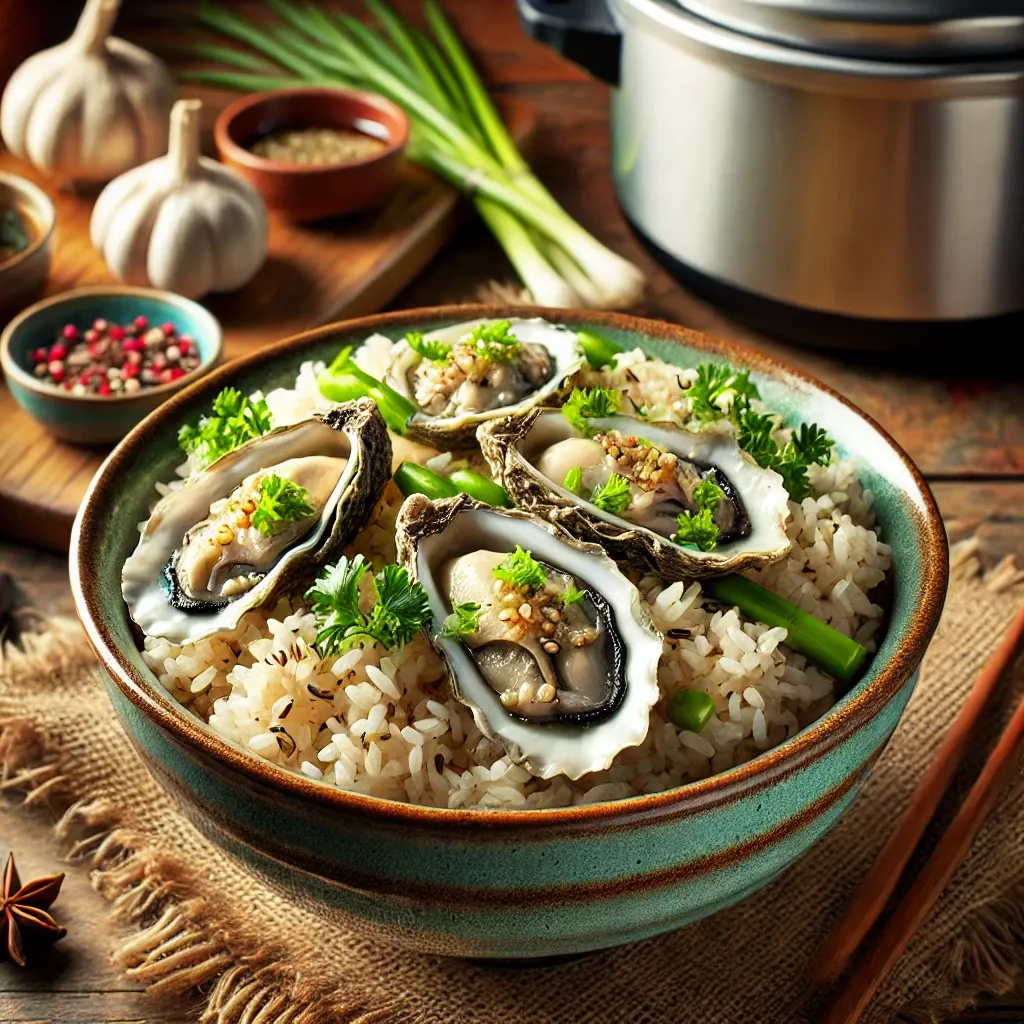
A pressure cooker is a perfect tool for making oyster rice because it reduces the cooking time while infusing the rice with the natural flavors of the oysters. The rice absorbs all the delicious juices, creating a savory, satisfying dish.
Ingredients:
-
1 cup of uncooked short-grain rice (or your preferred variety)
-
10-12 fresh oysters (shucked)
-
2 tablespoons of soy sauce
-
1 tablespoon of oyster sauce
-
2 teaspoons of sesame oil
-
2 cups of water or seafood stock
-
3 cloves garlic (minced)
-
1 small onion (chopped)
-
1 tablespoon of ginger (grated)
-
1 teaspoon of salt (adjust to taste)
-
Fresh herbs (e.g., parsley or cilantro) for garnish
Instructions:
-
Prep the Ingredients Start by rinsing the rice under cold water until the water runs clear. Set aside. Chop the garlic, onion, and grate the ginger.
-
Sauté Aromatics Heat the pressure cooker on medium heat and add the sesame oil. Once hot, sauté the garlic, onion, and ginger until they become fragrant and translucent.
-
Add the Rice and Liquids Stir in the rice and toast it for 2-3 minutes. Then, pour in the water or seafood stock, soy sauce, oyster sauce, and salt. Mix well.
-
Pressure Cook Close the lid of the pressure cooker and set it to high pressure for 6-8 minutes. Make sure the valve is sealed properly. Once the cooking time is complete, allow the pressure to release naturally for 5 minutes before opening the lid.
-
Add Oysters Gently fold in the shucked oysters, being careful not to break them. Close the lid again and let them steam for an additional 3-5 minutes. The oysters will become tender and infused with the rice’s flavors.
-
Garnish and Serve Sprinkle the oyster rice with fresh herbs for a burst of color and aroma. Serve hot and enjoy!
👉 Learn more about oyster rice cooking methods 👈
2. Oyster Rice with a Pressure Cooker
Oyster rice prepared in a pressure cooker brings out the dish’s essence by locking in moisture and heat, creating a wonderfully rich and succulent flavor profile.
Why Use a Pressure Cooker?
-
Efficiency Pressure cookers significantly reduce cooking time compared to traditional methods. What would usually take over an hour on the stovetop can be done in under 15 minutes.
-
Enhanced Flavor The pressure cooker helps intensify the natural flavors of the oysters and seasonings, making every bite a flavorful experience.
-
Tender Oysters Cooking oysters in a pressure cooker ensures they remain tender and juicy, as the sealed environment prevents them from overcooking.
Step-by-Step Guide:
-
Prepare Your Ingredients Like in the previous recipe, gather all your ingredients, paying special attention to the freshness of the oysters.
-
Sautéing and Layering Begin by sautéing garlic, onion, and ginger. This layer of aromatics creates a solid flavor base. Add the rice and liquids in the right order to avoid overcooking or burning.
-
Pressure Cooking The secret to perfect oyster rice lies in the pressure cooking time. High pressure for 6 minutes is usually enough for the rice to cook through and absorb all the flavor.
-
Post-Cooking Process Once the pressure is released, add the oysters and let them steam under pressure for a few more minutes. This ensures they’re tender but not overcooked, preserving their delicate texture.
-
Serve Garnish with freshly chopped herbs like cilantro, parsley, or green onions. Serve hot as a main dish or a side.
👉 Discover more recipes for oyster rice 👈
3. Pressure Rice Cooker Oyster Rice
For those who enjoy experimenting with different tools, using a pressure rice cooker adds another dimension to cooking oyster rice. This method makes the preparation even simpler and more foolproof.
What is a Pressure Rice Cooker?
A pressure rice cooker is a device designed specifically for cooking rice using pressure, ensuring the grains cook evenly while retaining flavor and texture. It can be used for a variety of dishes, including oyster rice.
Key Benefits:
-
Quick Cooking Just like a traditional pressure cooker, the pressure rice cooker cuts down on cooking time, offering a hassle-free cooking experience.
-
Uniform Texture The rice cooker’s design ensures that every grain of rice is cooked uniformly, avoiding clumps or burnt rice.
-
Flavor Retention The closed environment traps flavors and moisture, allowing the oysters to retain their delicate taste.
Cooking Instructions:
-
Soak the Rice Rinse the rice and soak it for 10-15 minutes before using the pressure rice cooker. This step helps the rice cook more evenly.
-
Layer the Ingredients Place the rice at the bottom of the cooker, followed by the pre-cooked aromatics (garlic, ginger, onion). Add the oysters on top, ensuring they’re not submerged.
-
Pressure Cook Close the lid of the pressure rice cooker and set it to cook for 5-7 minutes. The result should be perfectly fluffy rice with tender oysters.
-
Final Touches Once the cooking is done, release the pressure and stir in the oysters. Garnish with herbs and serve.
👉 Explore more ways to cook with a pressure rice cooker 👈
Conclusion
Making oyster rice in a pressure cooker offers a quick, delicious way to enjoy this flavorful dish with minimal effort. Whether you’re using a traditional pressure cooker or a specialized pressure rice cooker, the key to success lies in the combination of fresh oysters, rich seasonings, and precise cooking time. As you perfect your technique, you’ll find yourself making this savory dish again and again.
Remember, the pressure cooker isn’t just a time-saver—it’s also a flavor-enhancer, locking in all the deliciousness and keeping your oysters tender and flavorful. Give it a try and impress your friends and family with your culinary skills!